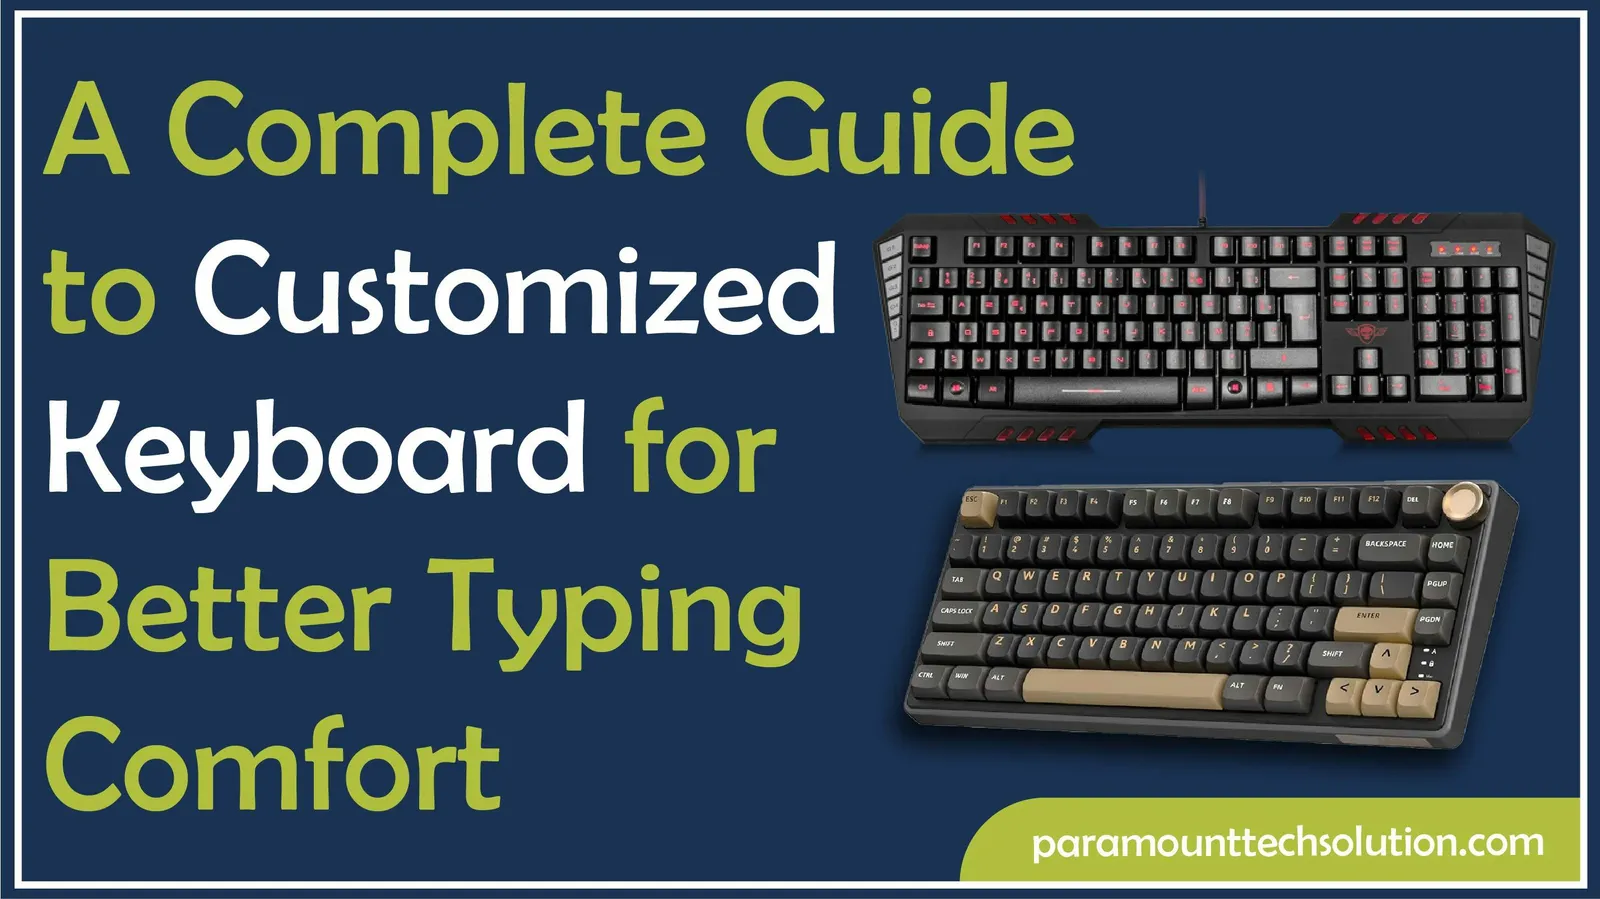
A Complete Guide to Build Custom Keyboard for Better Typing Comfort
Paramount Tech Solution
Paramount Tech Solution
Fed up with the same cramped keyboard layout or constantly adjusting keyboard settings that never feel right? If you're a content creator, a gamer, or someone who types for hours every day and uses a desktop, laptop or even a keyboard for iPad, the answer is simple. Switch to customized keyboard. It's a game-changer for your typing speed, comfort, and style.
This keyboard guide will cover everything you need to know to build custom keyboard that fits your hands, habits, and hustle.
Building a custom keyboard can help reduce muscle strain, boost your typing speed and performance, and be kinder to the environment by focusing on modular design and sustainability.
A customizable Keyboard typically consists of a case, a PCB, a plate, switches, stabilizers and keycaps, crafted for comfort and style. Optional components like foam, dampeners, and custom cables can further enhance the keyboard's aesthetics and functionality. The components to make custom keyboard are as follows:
A custom keyboard’s case can be made from plastic, aluminum or wood, giving it a unique look and comfortable design for your hands. It affects the keyboard’s style, weight, strength and price. The case also protects important components like the PCB, plate, switches, and stabilizers from dust, moisture, and damage, while helping keep your wrists comfortable during long use.

When designing a keyboard, the core focus is often on the main switches because they directly impact the typing feel and sound of typing. They come in different types, each balancing ease of use, speed and proprioception, which are all important factors for typing performance and personal preference style.

Mechanical switches are a top choice for building a keyboard because they use a spring mechanism per key, giving consistent feedback with every press. You can adjust their feel and force, making them comfortable for long typing or gaming sessions. They come in many colors, sounds, and designs that combine ease with style.
Built to last, they can handle 50 -100 million presses, making them a reliable choice for gamers, programmers, writersand anyone who values precision. There are three sub-types of mechanical switches.
Membrane switches, with rubber or silicone layer under keys, provide a quieter, softer typing experience with fewer customization options. They have a sleek, minimalist look and are suitable for light or moderate use, making them ideal for offices or casual users who need a budget-friendly custom build keyboard. They are of three types:
Keycap is the cover of a keyboard switch, which is pressed. Customized keyboards consider factors like comfort, typing speed, noise, durability, and RGB lighting. When you design a keyboard, the material, profile and printing process of keycaps are crucial for creating an ideal typing experience that suits your requirements.

ABS Keycaps are affordable, smooth, and portable but can easily wear due to finger oils, making them shiny and potentially causing wear. While not suitable for serious use, they are sufficient for low budget keyboard building.
PBT keycaps are longer-lasting than ABS and are preferred by gamers and typists for keyboard creation due to their durability and high-quality keys.
POM (Polyoxymethylene) Keycaps are smooth and feel strong; they cannot be worn out easily. They are not as prevalent as ABS or PBT, but they are renowned for having a solid feel and a long lifetime.
The legends are dyed into the plastic, making them resistant to fading. They usually work best with PBT material and have a softer, vintage look.
To build a keyboard with a custom keyboard kit, Sculpted Profile Keycaps are shaped in such a way that all the rows of keys have different angles at which one can type comfortably. Popular profiles are Cherry, OEM, SA and DSA. They will help reduce finger strain from typing for a long time.
These keycaps have a unique design where every key is the same height and shape. This creates a completely flat typing surface, which some people prefer, especially for certain gaming styles or anyone who likes a consistent feel across all keys.
These are transparent/translucent-legged so that RGB or LED light may traverse. Ideal with colorful set ups and night keyboard use.
The PCB (Printed Circuit Board) is the key component of a keyboard, connecting all components and transmitting electrical signals from each key to the computer. A good PCB is really important in designing a keyboard because it affects how quickly the keys respond and even if your keyboard can support extras like special lighting or different layouts.

Stabilizers are small components placed beneath large keys, such as the spacebar, Shift, and Enter, to help keep them stable. They prevent these keys from wobbling or tilting, ensuring each press is smooth and consistent, which ultimately improves the typing experience.
If you're someone who enjoys using emojis or symbols while typing, learn how to quickly insert a heart emoji or heart symbol using your keyboard here.

Building a custom keyboard with a custom keyboard kit means selecting and assembling keyboard parts like the case, PCB, plate, switches, and keycaps, allowing for customization in feel, sound, and aesthetics. Whether you want to build a keyboard from scratch or make your own keyboard by upgrading parts, there are many useful techniques to customize your mechanical keyboard!
When you build a custom keyboard, one of the key steps is switch modification. This involves making small adjustments to the switches to make your typing smoother, quieter, or more personalized. Here’s what to focus on:
This allows you to tailor your typing experience to your preferences.
When building a keyboard, keycap replacement is a simple and enjoyable customization process. It involves taking off old keycaps, cleaning the keyboard and switches, and replacing them with new ones. Some people also add mini mods like lubing or O-rings for more comfortable typing. This process is common among keyboard enthusiasts and beginners. The tools and materials you need:
To make a custom keyboard, you typically start by picking out the case, PCB, stabilizers, switches and keycaps. Once you have those, you can always make it even more personal with some simple modding tricks.
Switch selection is a crucial aspect of creating a custom keyboard. There are three main types: linear, tactile, and clicky, each with its own typing feel. Linear switches provide a smooth, even stroke, tactile switches have a bump, and clicky switches add a click.
Three types of switches needed to make your own keyboard are as follows:
The main characteristics to consider when choosing switches to build custom keyboard include:

When we talk about a keyboard layout, we mean how the keys are arranged, their size, their placement, and which keys are included. Selecting the right layout is a crucial step in building keyboard, as it impacts comfort, typing speed and how well your keycaps fit. Understanding these layouts will help you figure out what works best for you.
The ANSI layout is named after the American National Standards Institute and it's the most popular choice in the United States and many other countries. It features a wide left Shift key and a long, horizontal Enter key. Since most keycap sets and PCBs (Printed Circuit Boards) are designed for ANSI, building a keyboard with this layout is often simpler.
The ISO layout is a standard from the International Organization for Standardization. You'll find it mostly used in Europe, like in the UK and Germany. Its main features are a tall, L-shaped Enter key and a slightly smaller left Shift key. This layout is handy if you often type symbols like £ or €. People who are building custom keyboards for European languages often go with the ISO standard because it easily accommodates those extra characters.
The JIS layout, which stands for Japanese Industrial Standard, is the standard in Japan. It comes with some extra keys specifically for Japanese characters, a smaller spacebar, and special buttons to switch between languages. If you're planning on typing in Japanese, this layout really makes things much simpler.
Ergonomic layouts are all about comfort and making typing for long periods easier. These keyboards are often designed to be split into two parts, curved, or angled in a way that helps reduce strain on your wrists. If you spend hours typing or gaming, choosing an ergonomic layout is a smart move because it prioritizes your health and comfort.
Custom mechanical keyboard creation involves PCB testing, stabilizer and switch installation, soldering, keyboard mounting, and keycap addition. Post-assembly, customization activities like sound modifiers or custom painting can be added for added functionality.
Accessory upgrades can enhance keyboard work experience by adding stabilizers for easier typing and wrist rests for strain prevention. Custom cables add personality and refinement to your setup, making it distinctive and refined. These easy adjustments make typing more enjoyable and efficient.
Mods involving stabilizers are specifically designed to tackle that. By installing, trimming, or swapping out these components, you can make your keyboard feel much smoother and just more satisfying to use overall.
It's a great way to boost comfort, especially during long typing sessions or gaming marathons. It helps keep your hands in a natural, relaxed position and takes some of the strain off your wrists.
Custom cables are a fantastic way to choose different styles like USB or coiled options, plus a variety of colors, materials and connectors to perfectly match your setup and give it a unique look.
Community resources are a great way to learn and connect with other keyboard enthusiasts. Online forums and guides are packed with useful tips for building and troubleshooting your keyboard setups, while vendors often have custom parts and unique designs up for grabs. These resources make it much easier for everyone, from complete beginners to seasoned pros, to upgrade and truly personalize their keyboards.
Check out enthusiast forums like Reddit’s r/MechanicalKeyboards or Geekhack! You'll find tons of helpful tips, reviews, and cool custom builds shared by other members. Hanging out in these communities is a great way to pick up tricks from seasoned keyboard builders.
If you're new to keyboard building, there are plenty of step-by-step guides and YouTube tutorials available online. They'll walk you through the entire process, from building and modding to troubleshooting common issues.
Many custom keyboard vendors sell specialized items like switches, plates, and keycaps. Shopping from these places gives you access to exclusive designs you just won't find at your average electronics store.
In 2025, exotic mechanical keyboards like Keychron Q series, Wooting 80HE, Razer BlackWidow V4 75%, and SteelSeries Apex Pro TKL are attracting attention due to their ergonomics, customization options, magnetic switches, low latency, and excellent performance for gamers.
Can predictive typing improve typing speed?
Yes, predictive typing increases your typing speed without needing to type full words or sentences.
Which Apple keyboard for iPad should I buy?
It depends on your model:
What are split keyboards and why use them?
Split keyboards are ergonomically designed to divide keys into two sections. It reduces wrist strain and improves comfort.
Is the Apple Magic Wireless Keyboard compatible with all devices?
Absolutely! The Apple Magic Wireless Keyboard is compatible with Macs, iPads, and some Windows PCs and iPhones via Bluetooth.
Can I use any Bluetooth keyboard with iPad Air?
Choosing a Bluetooth keyboard compatible with iPad Air ensures better performance and shortcut support, as it can be paired with almost any keyboard.
How to Choose the Right Customized Keyboard for iPad?
Pick a customized keyboard for iPad designed for your specific use. Key things to consider: